")


RC Radios>ExpressLRS

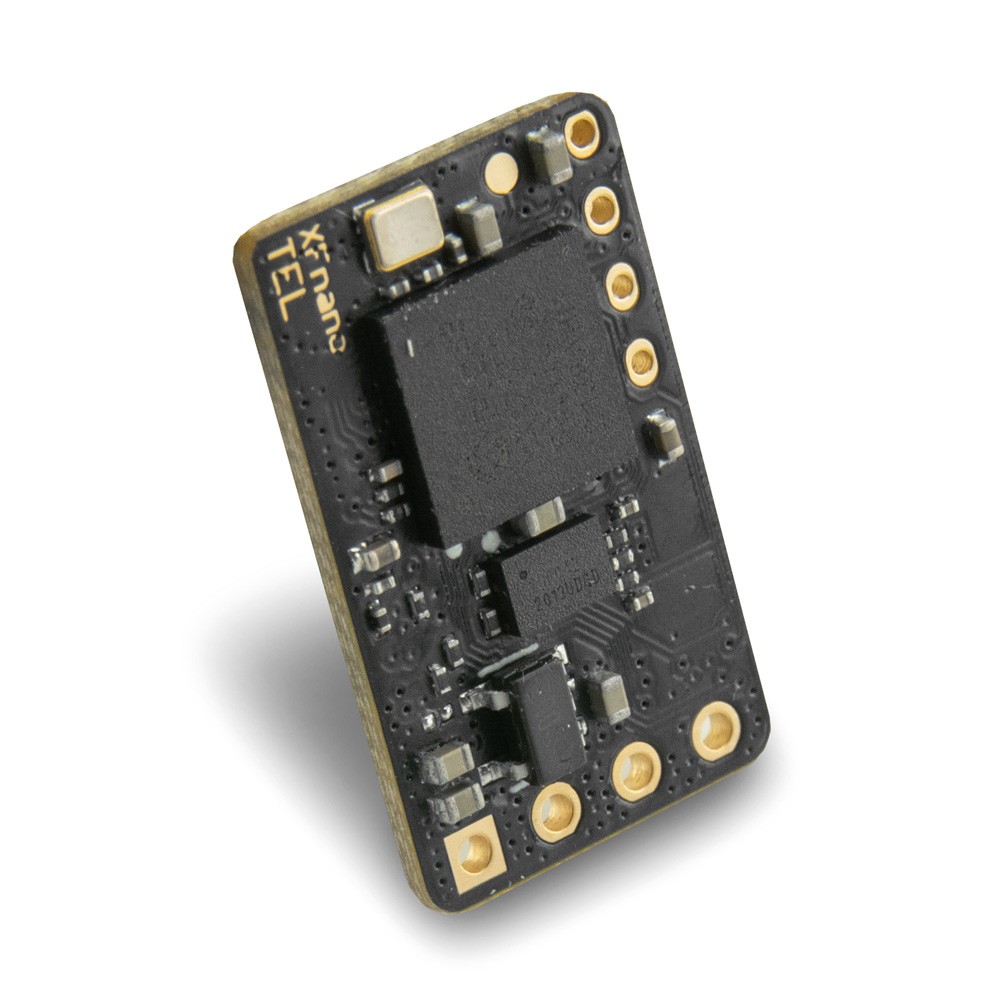
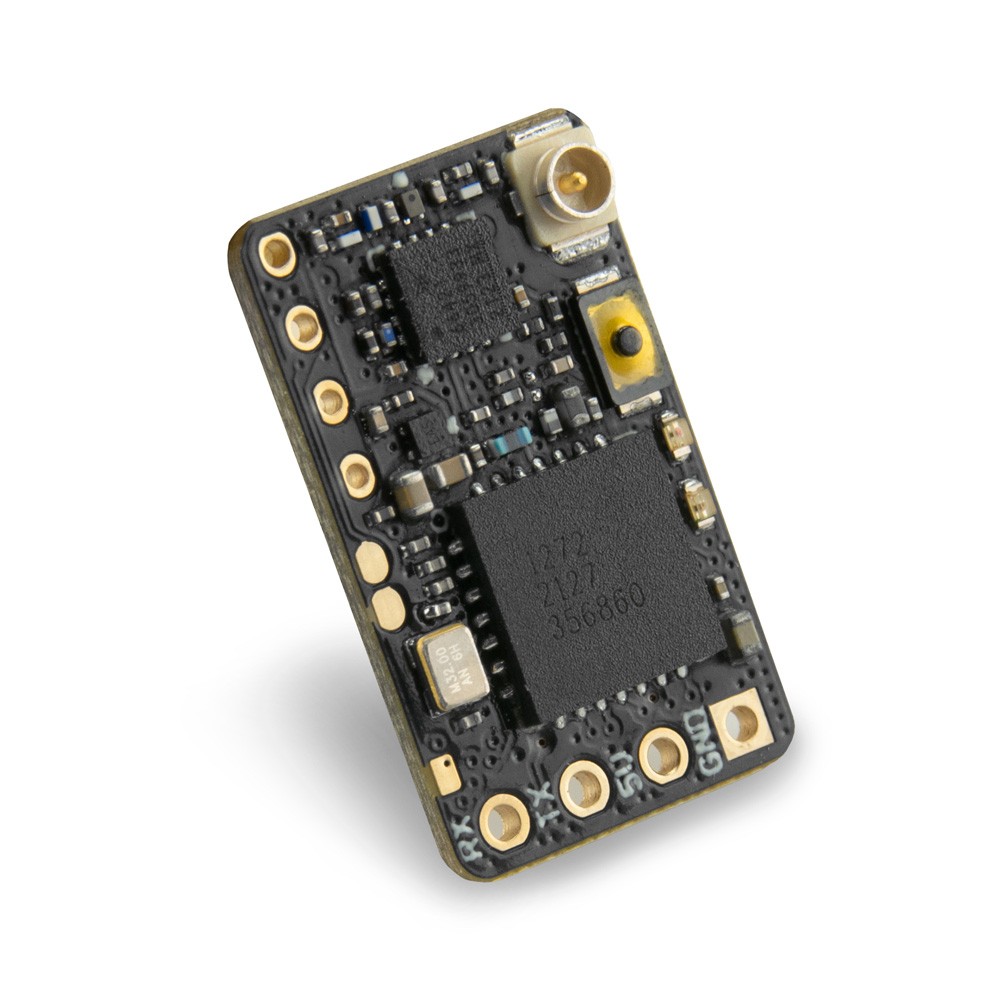
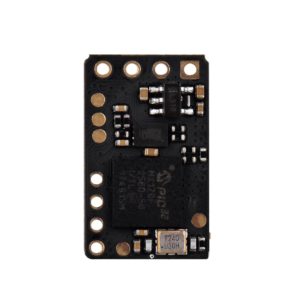
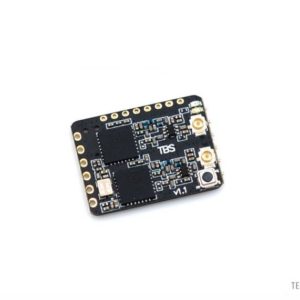
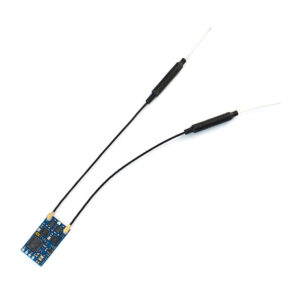
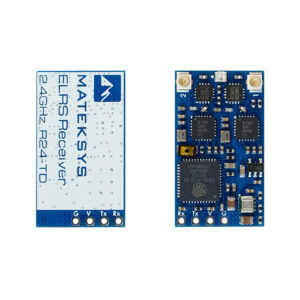
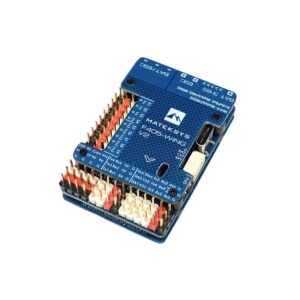
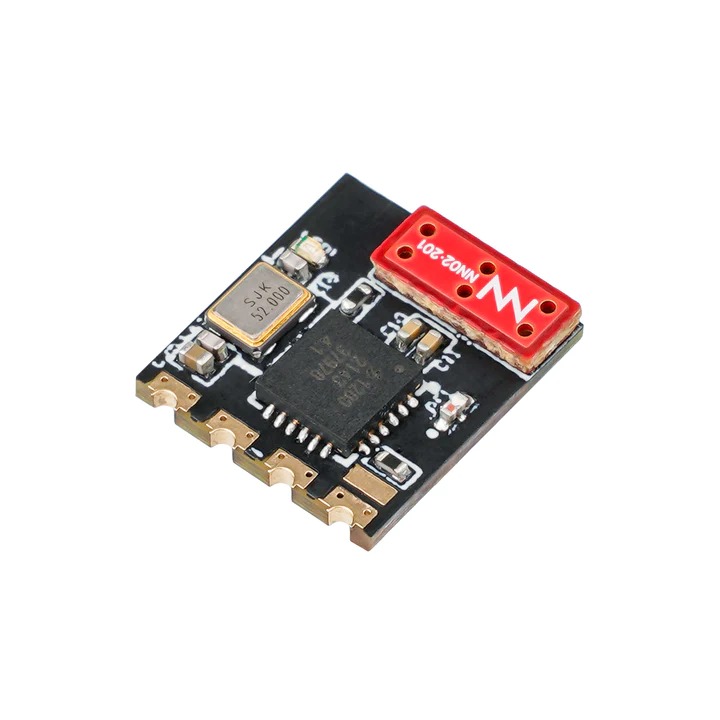
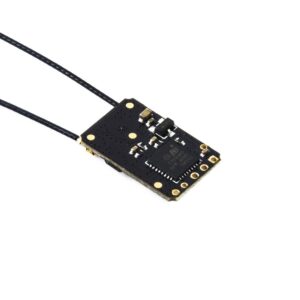
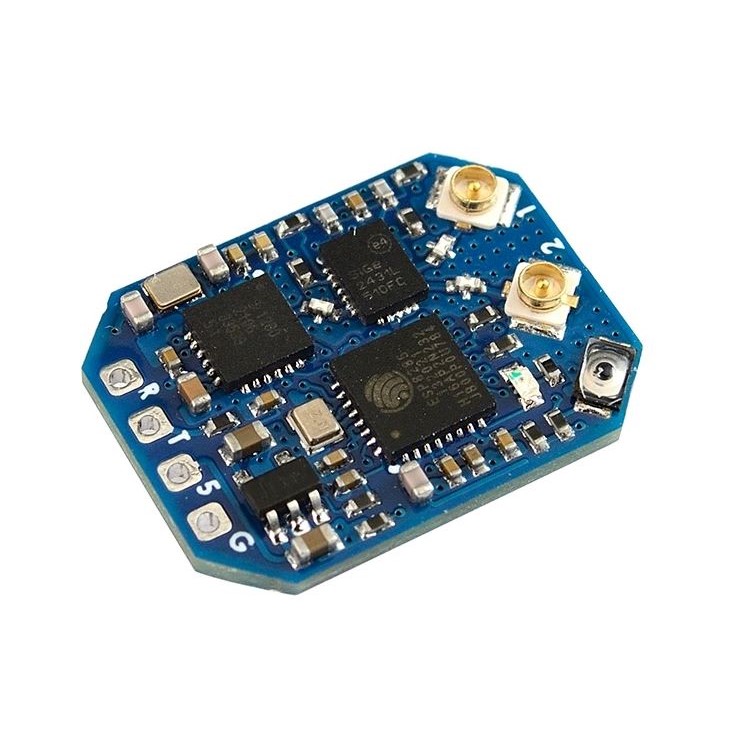
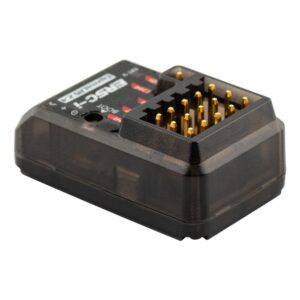
Mateksys ExpressLRS 2.4G PWM Receiver 6PWM
by Mateksys
Perfect for Gliders, Plane, and FPV Wing pilots, the ELRS-R24-P6 provides a 6xPWM output ExpressLRS receiver for use without a FC
$29.99
Hurry! Only 2 left in stock
Ships from our Tauranga warehouse
Description
Perfect for Gliders, Plane, and FPV Wing pilots, the ELRS-R24-P6 provides a 6xPWM output ExpressLRS receiver for use without a FC
Note this is ExpressLRS v3.0 not compatible with your V2.4 gear.
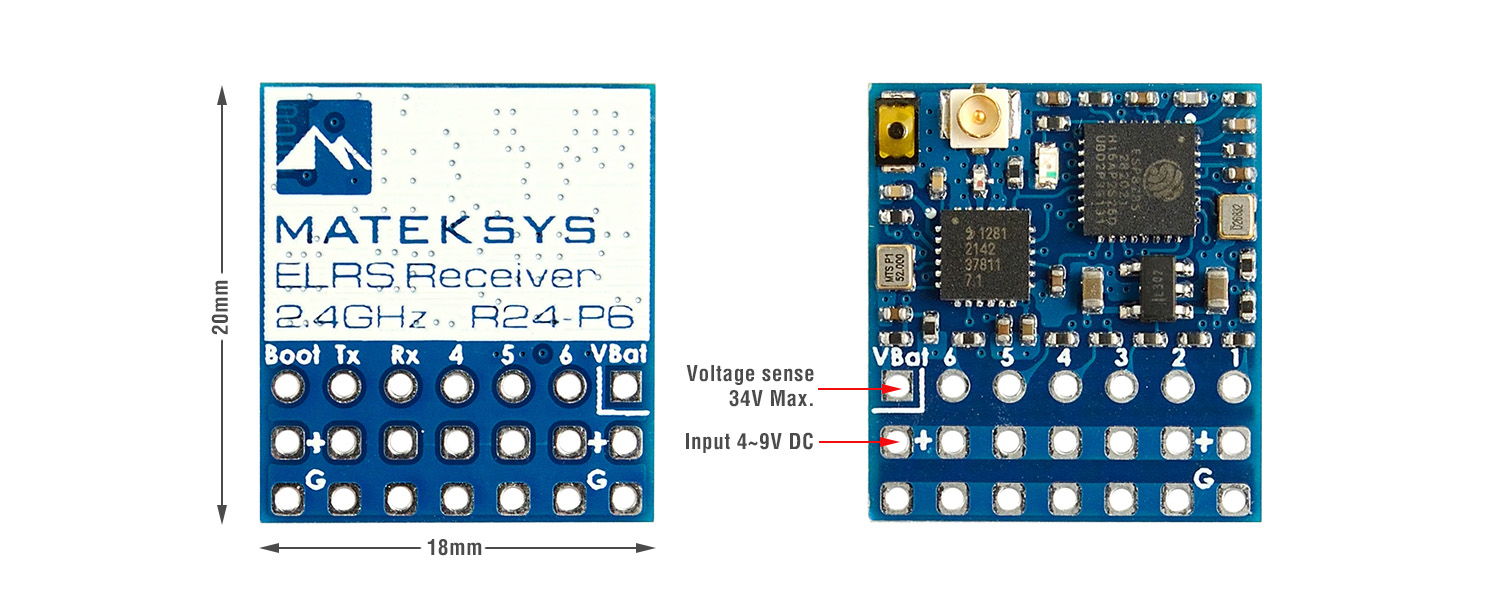
ELRS-R24-P6 Specifications
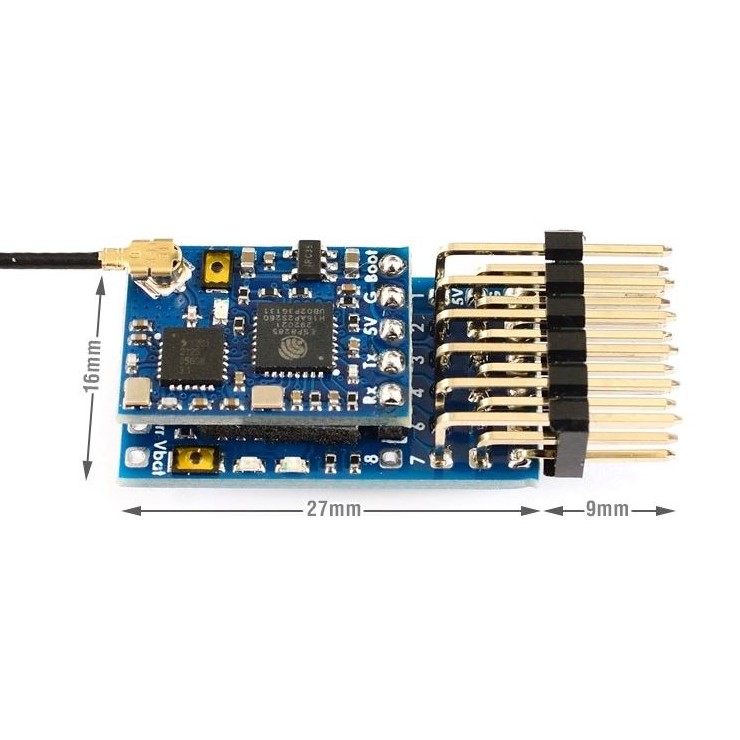
- ESP8285, SX1281
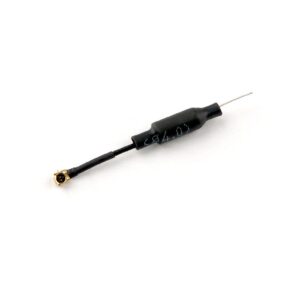
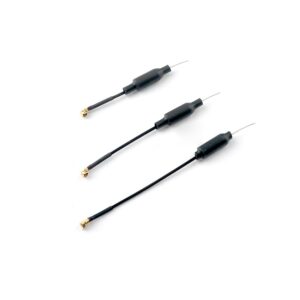
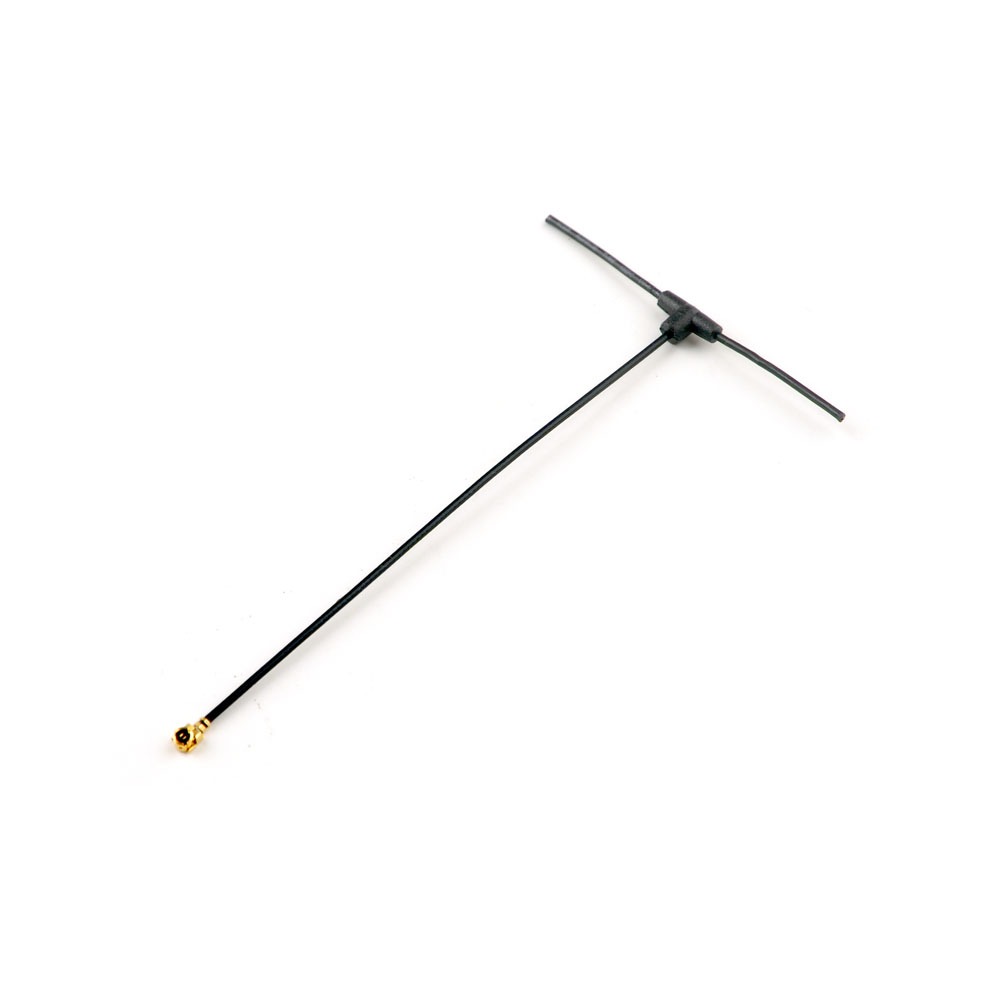
- Antenna connector: IPEX MHF 1
- 6x PWM outputs
- Support 2~8S VBat voltage sense
- RF Frequency: 2.4GHz (2400~2480MHz)
- Telemetry power: 12dbm
- Receiver output protocol: PWM
- Input voltage: 4~9V DC @ “+” pad
- Voltage sense: 34V Max. @ “VBat” pad
- Power dissipation: 45mA(binding), 85mA(wifi mode)
- PCB size: 20mm x 18mm
- Weight: 2g w/ antenna
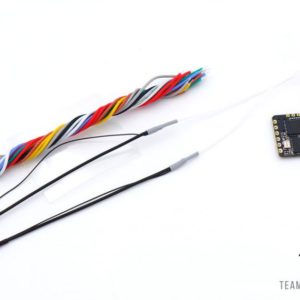
- Packing:
- 1x ELRS-R24-P6
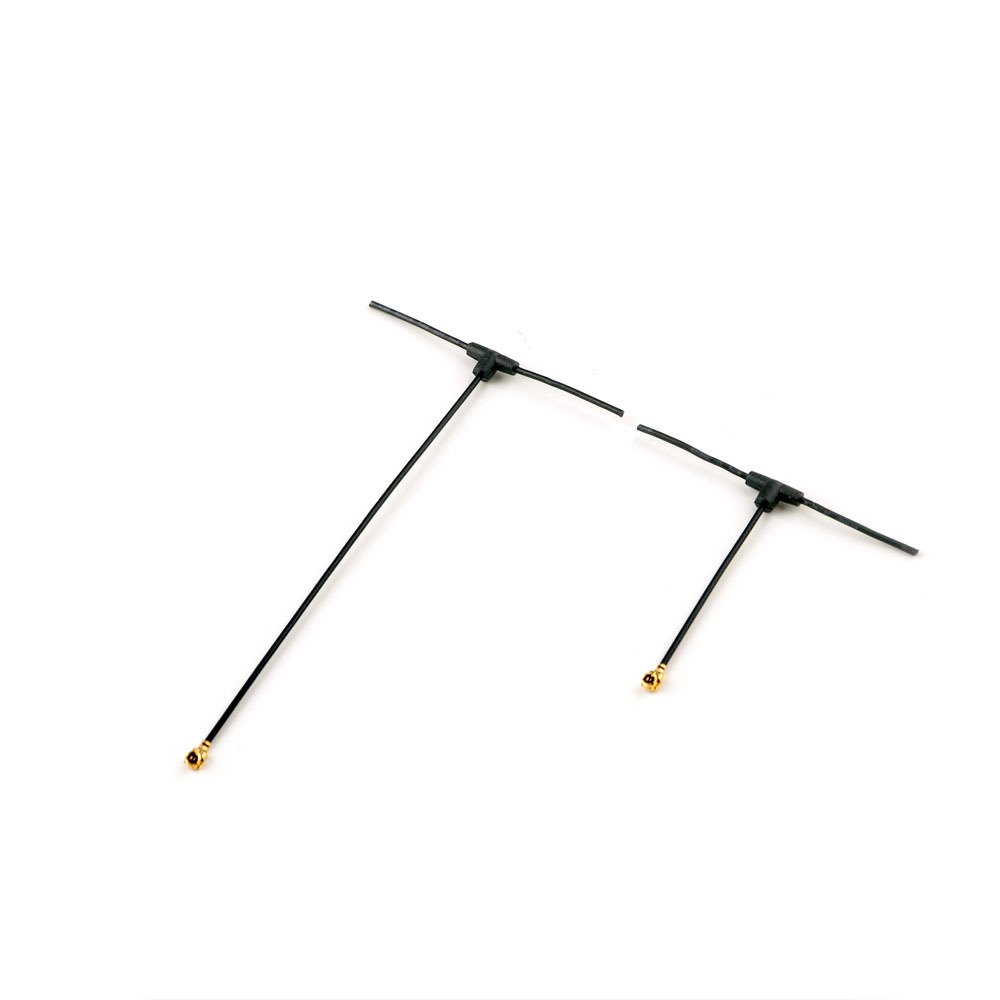
- 1x IPEX MHF1 Antennas. 15cm
- Dupont 2.54 pins (Board is shipped unsoldered)
Firmwares
- ExpressLRS 3.0 or newer, DIY 2.4 GHz / DIY 2400 RX PWMP EX
- ExpressLRS wiki for PWM receiver, Click HERE
- Make sure Receiver and TX module both are running ExpressLRS 3.0 or newer
Receiver has ExpressLRS 3.0 preloaded with binding phrase “123456”, the Receiver will never enter binding mode if using the traditional binding procedure.
You need to reflash it with your binding phrase OR go into WebUI to set your binding phrase.
Flashing via Wifi
- Disconnect ESC and servos from receiver first.
- Power on receiver by 5V source. Receiver’s LED(Red) will blink slow at first, and after 20s, it should blink fast indicating it’s on Wifi Hotspot Mode.
- More detailed steps, pls refer this page.
- Target: DIY 2.4 GHz / DIY 2400 RX PWMP EX
Flashing via UART
- Disconnect ESC and servos from receiver first.
- Wire the receiver into the USB-TTL adapter, with TX on receiver connected to the Rx on the USB-TTL, and RX on receiver connected to the Tx of the USB-TTL. Wire 5V and GND of the USB-TTL to 5V and GND of the Receiver.
- Press the boot button while powering on the receiver, then release – the Red LED on receiver should now be solid.
- Select the target DIY 2.4 GHz / DIY 2400 RX PWMP EX and “UART” for Flashing Method, set your bind phrase and Firmware Options and once done, click on Build and Flash.
Additional information
| Brand | |
|---|---|
| Protocol |
8 reviews for Mateksys ExpressLRS 2.4G PWM Receiver 6PWM
Only logged in customers who have purchased this product may leave a review.
Related products
-
TBS Shrink Tubes (40 x 23mm)
(15) $2.99In stockAdd to cart -
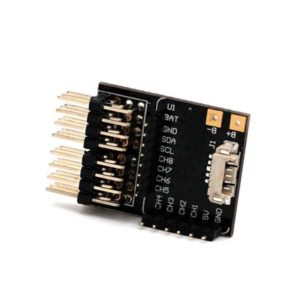
TBS Crossfire Nano Diversity RX Adapter
(1) $9.49In stockAdd to cart -

Antenna Tubing End Caps (10pcs)
(8) $2.99In stockAdd to cart -
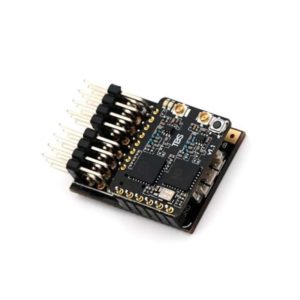
TBS Crossfire Nano Rx Pro
(11) $71.99In stockAdd to cart -

TBS Crossfire Receiver Nano – Special Edition
(48) $62.90In stockAdd to cart -
TBS Crossfire Nano Diversity Receiver
(3) $109.99In stockAdd to cart
Explore more from Mateksys
-
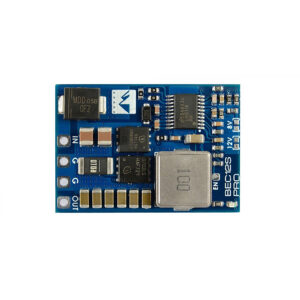
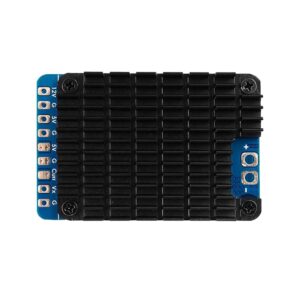
Mateksys BEC PRO 12S to 5/8/12V-5A
$34.99In stockAdd to cart -
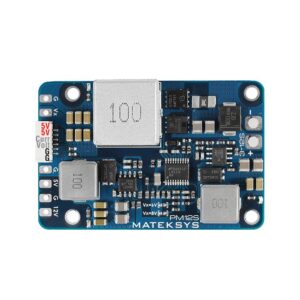
Mateksys Power Module 12S w/ 3xBEC
$92.99In stockAdd to cart -
Mateksys ExpressLRS 2.4G True Diversity Receiver
$48.99In stockAdd to cart -
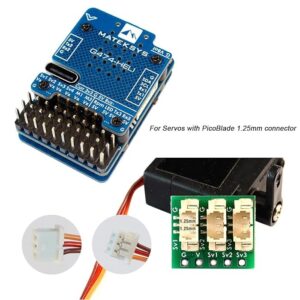
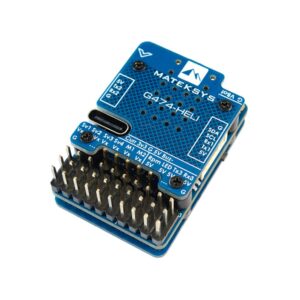
Mateksys RC Helicopter Flybarless Controller G474-HELI
(1) $94.99In stockAdd to cart -
Mateksys F405-WING-V2 Flight Controller
$109.99In stockAdd to cart -
Mateksys 2812 6-LED Board (Qty 4)
(2) $11.99In stockAdd to cart
Other products in the collection ExpressLRS
-
HappyModel VTx 5.8Ghz Dipole Antenna for Mobula6 2 Pieces
(4) $4.99Out of stockRead more -


HappyModel ES24TX Slim Pro 2.4GHz ExpressLRS TX Module
(7) $86.99In stockAdd to cart -
Mateksys ExpressLRS 2.4G True Diversity Receiver
$48.99In stockAdd to cart -

BetaFPV ExpressLRS 2.4G Lite Reciever Flat Antenna V1.1
(5) $26.99In stockAdd to cart -
Happymodel 2.4GHz Antenna for ExpressLRS EP1 RX compatible with TBS Tracer
(6) $7.49In stockSelect options This product has multiple variants. The options may be chosen on the product page -
Mateksys ExpressLRS 2.4G Vario Receiver
(8) $44.99In stockAdd to cart
Other ExpressLRS you might like
-
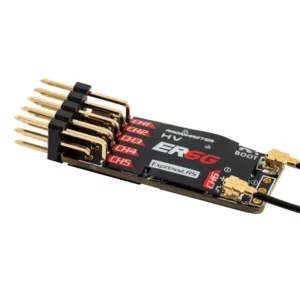
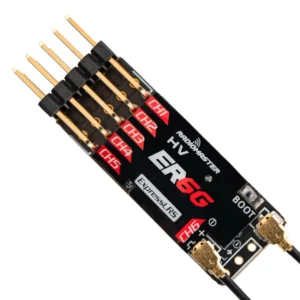
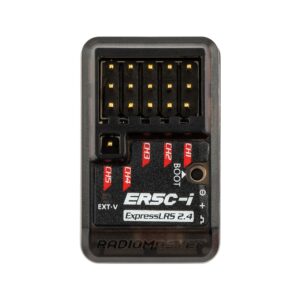
RadioMaster ER6G 2.4GHz 6Ch ExpressLRS PWM Receiver
$62.99In stockAdd to cart -
 Sale!
Sale!
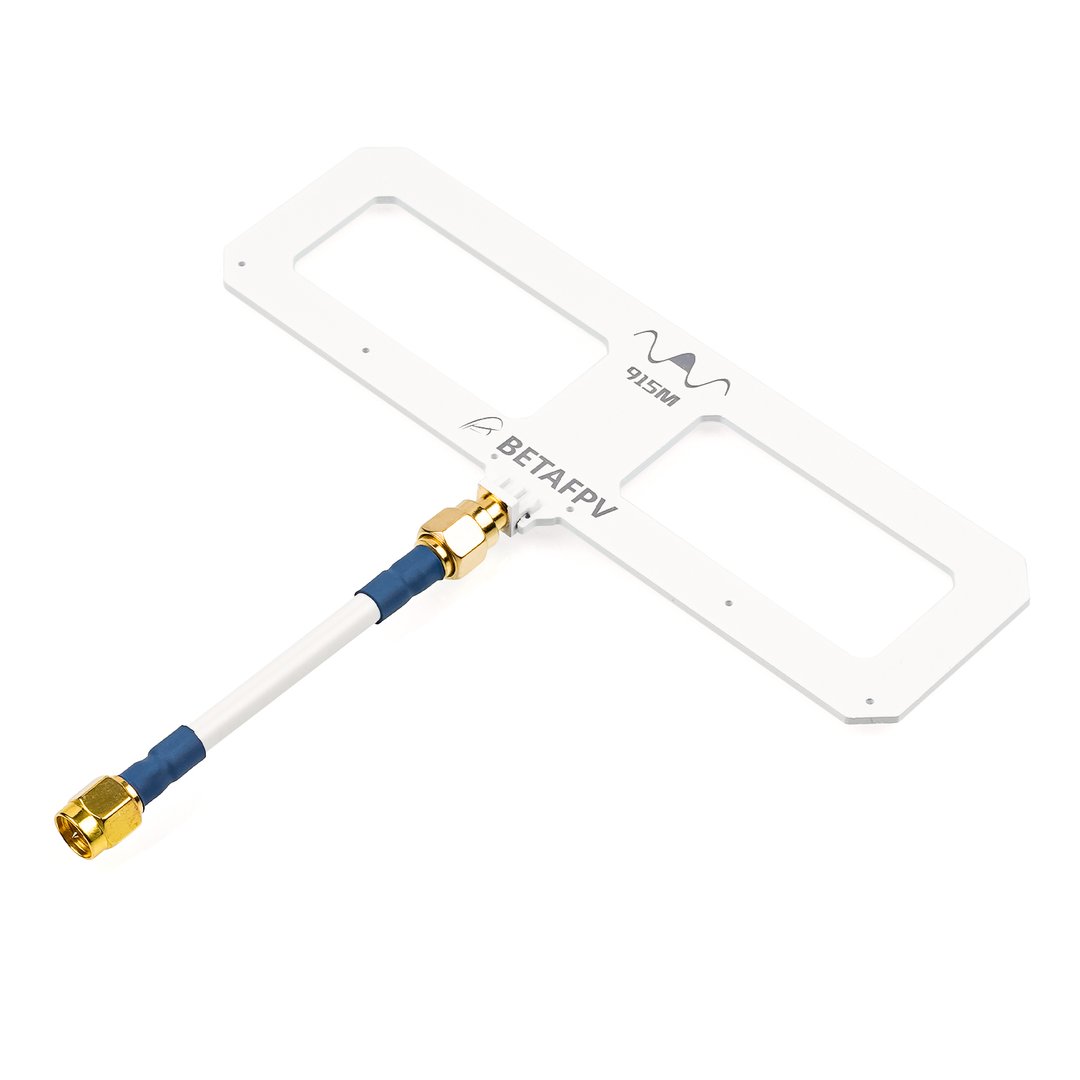
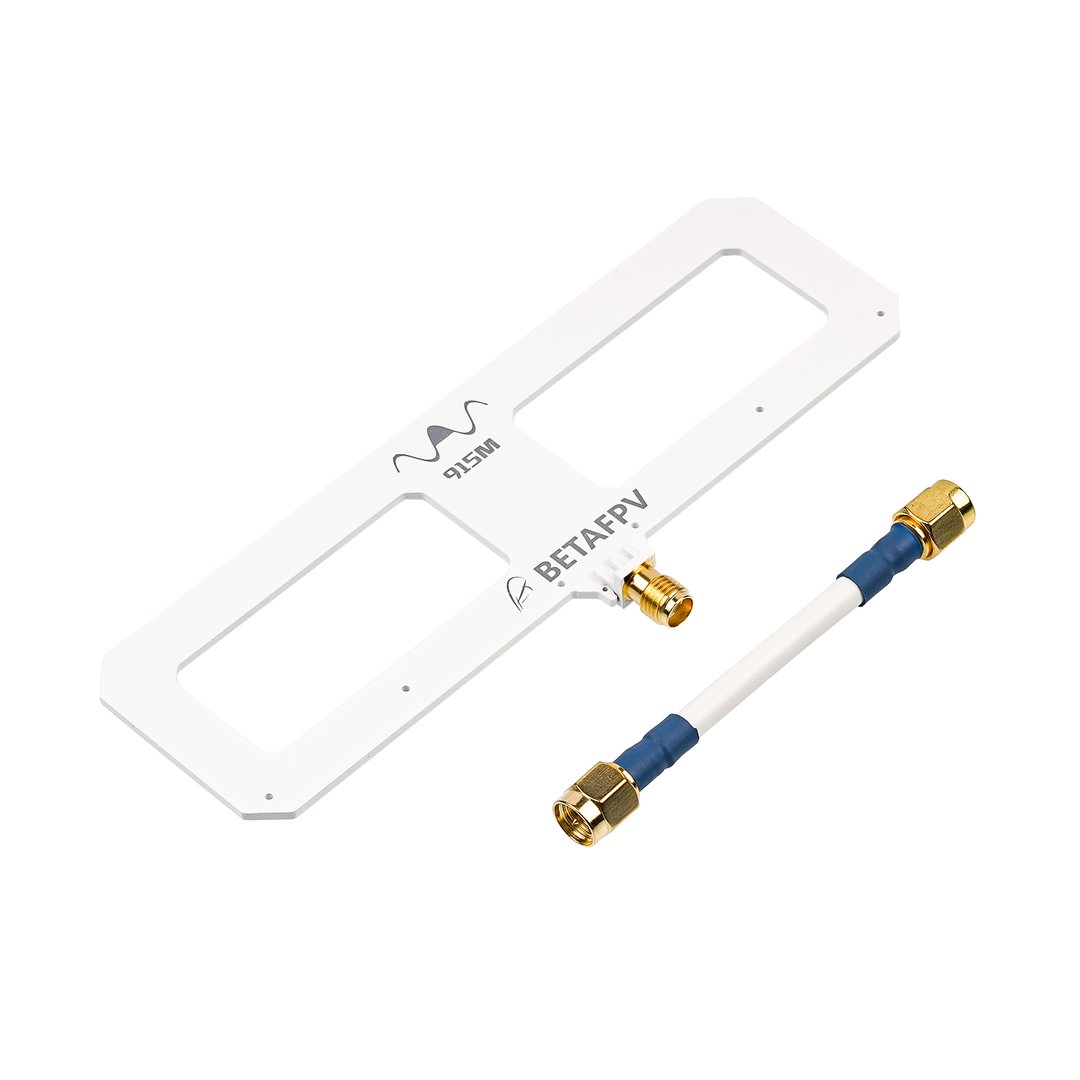
BETAFPV Moxon 915MHz Antenna for ExpressLRS (2 pack)
(1) Original price was: $27.99.$13.99Current price is: $13.99.In stockAdd to cart -
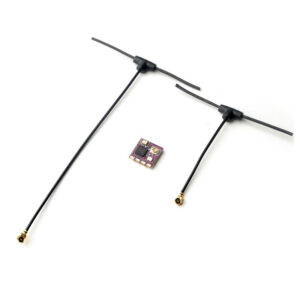
HappyModel TCXO ExpressLRS 2.4GHz EP1 Nano Receiver ELRS
(50) $29.99In stockAdd to cart -
Mateksys ExpressLRS 2.4G Vario Receiver
(8) $44.99In stockAdd to cart -
Happymodel 2.4GHz Antenna for ExpressLRS EP1 RX compatible with TBS Tracer
(6) $7.49In stockSelect options This product has multiple variants. The options may be chosen on the product page -

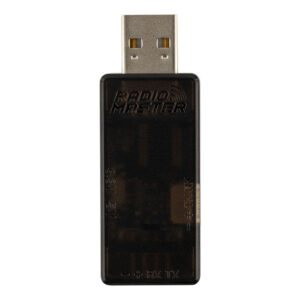
RadioMaster ExpressLRS UART Firmware flashing Dongle
(2) $24.99In stockAdd to cart
Other Receivers you might like
-
RadioMaster R81 V2 Receiver D8/D16/SFHSS
(12) $19.99In stockAdd to cart -
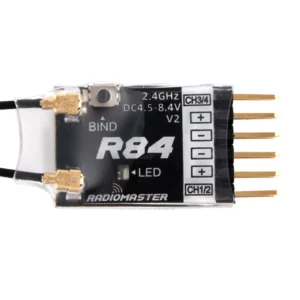
RadioMaster R84 V2 4Ch PWM Receiver for D8/D16/SFHSS
$39.99In stockAdd to cart -
Mateksys ExpressLRS 2.4G Diversity Receiver
(9) $36.99In stockAdd to cart -
RadioMaster ER6G 2.4GHz 6Ch ExpressLRS PWM Receiver
$62.99In stockAdd to cart -
RadioMaster ER5Ci 2.4GHz 3Ch ExpressLRS Land/Sea Receiver
(1) $39.99In stockAdd to cart -

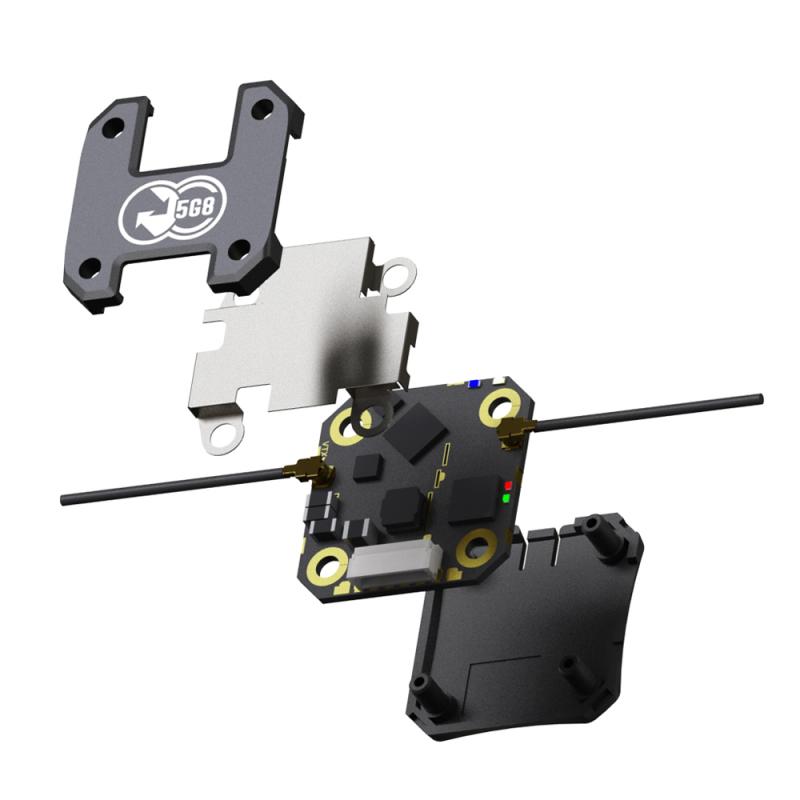
TBS Crossfire Sixty9 (VTX + Rx AIO)
(10) $84.99Out of stockRead more
Other Wings you might like
-
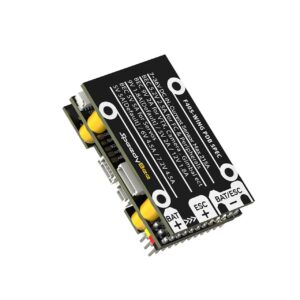
SpeedyBee F405 WING APP Fixed Wing Flight Controller
(5) $89.99In stockAdd to cart -
AtomRC Swordfish FPV Plane (KIT/ PNP / RTH)
(2) $239.99 – $519.99In stockSelect options This product has multiple variants. The options may be chosen on the product page -
Mateksys FC USB Extender w/Passive Buzzer
$9.99In stockAdd to cart -
Mateksys BEC PRO 12S to 5/8/12V-5A
$34.99In stockAdd to cart -
HQProp Thin Electric Pusher Propeller TE 9×5 CW
(1) $7.49In stockAdd to cart -
AtomRC Dolphin Wing Parts (10 Options)
(3) $8.99 – $99.99In stockSelect options This product has multiple variants. The options may be chosen on the product page
Simon (verified owner) –
Nice
Will (verified owner) –
Excellent price. Be aware if your new to FPV stuff, the embedded systems are far more complicated than traditional receivers so make sure you aske for help from someone in the know. Plenty of support for the product online though. Fantastic customer service. Will be purchasing from the store again!
Anonymous (verified owner) –
Anonymous (verified owner) –
Jac C. (verified owner) –
Nice small ELRS PWM receiver. Only gripe is it uses generic firmware rather than Matek specific. Was a little confusing to update the firmware cause of this. Also works well as a crfs mode receiver if you want flexibility
Graham (verified owner) –
Jac Clarke (verified owner) –
Has a temperature bug which can cause a failsafe. Matek also refuses to work with the expresslrs team to fix the issue and get an official firmware for these
James P. (verified owner) –
Excellent