")


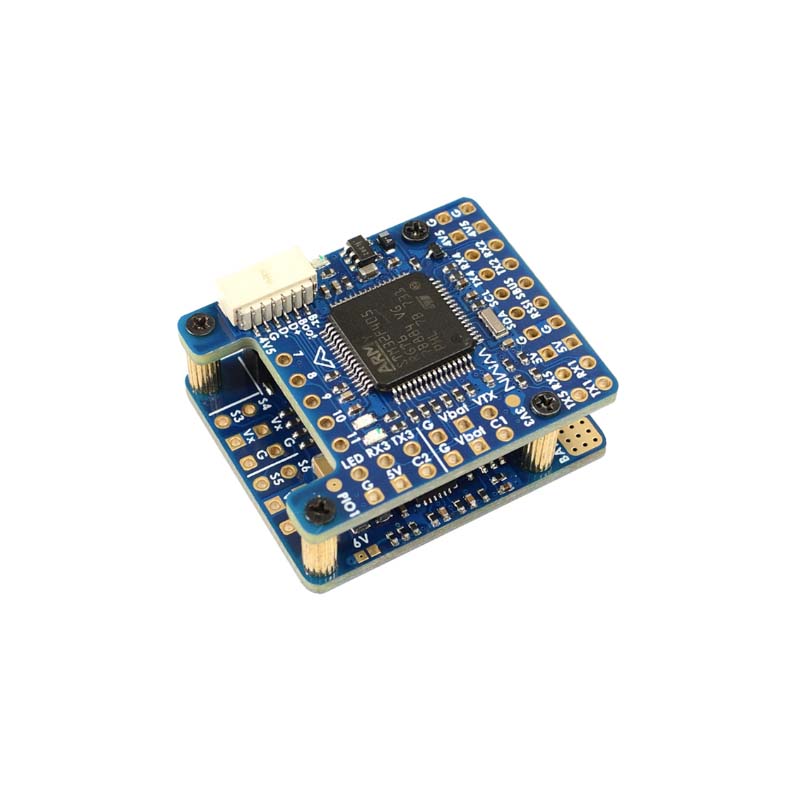
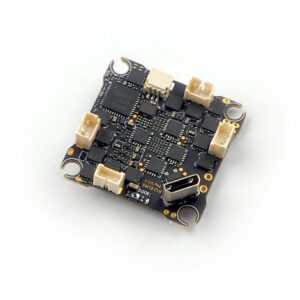
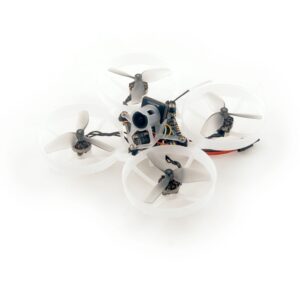
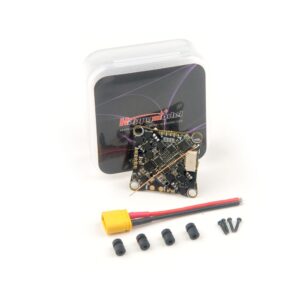
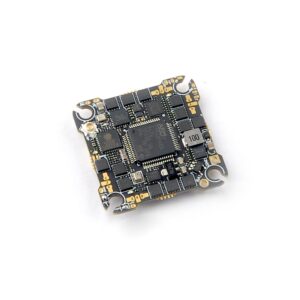
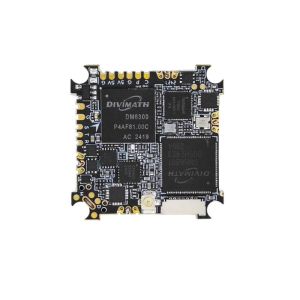
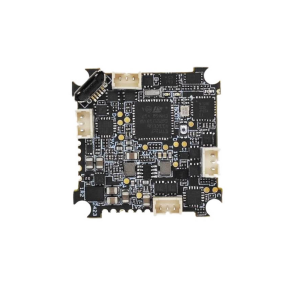
HappyModel CruxF405HD AIO Flight Controller 20A ESC with ExpressLRS
The CruxF405HD with a built-in Serial ELRS receiver and 4-IN-1 Blheli_S 20A ESC specially developed for Digital HD FPV in 20×20
$119.99
Hurry! Only 3 left in stock
Description
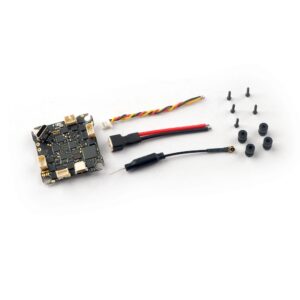
he CruxF405HD ELRS AIO flight controller comes with integrated UART 2.4GHz ExpressLRS receiver and 20A Blheli_s ESC(Bluejay firmware pre-installed) which could support 2-4s battery. Bigger Mosfet could support high to 20A currents would be better for 2-4S toothpick drone or long range FPV drone. Reserved 6 pin socket for DJI HD equipment plug and play. It’s a great solution of build HD digital FPV drone .
HappyModel FC Range:
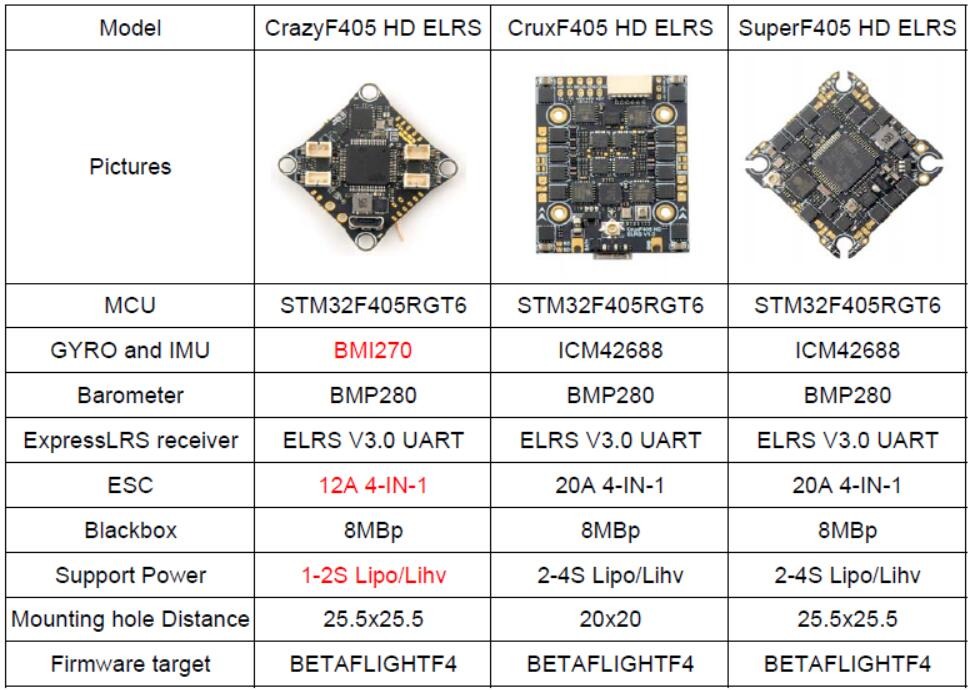
CrazyF405 available here: HappyModel CrazyF405HD AIO Flight Controller 12A BLHeli_S Uart ExpressLRS
SuperF405 available here: HappyModel Super F405HD AIO Flight Controller 20A ESC with ExpressLRS
Specifications:
| Flight controller | MCU: STM32F405RGT6 (168MHZ, 1Mbyte FLASH) GYRO Sensor: ICM42688 (SPI connection) Mount hole size: 20mm*20mm Power supply: 2~4S battery input (DC 8.7V-17.4V) Built-in 20A(each) Blheli_S 4in1 ESC Built-in Serial ExpressLRS 2.4G (Default connected to UART2) Built-in BMP280 Barometer Built-in 8MBp blackbox Built-in voltage meter sensor , voltage meter scale 110 Built-in current meter sensor , current meter scale 470 Flight controller firmware target: BETAFLIGHTF4 |
| Onboard 4in1 ESC | MCU upgraded to EFM8BB21 Power supply: 2-4S LiPo/LiPo HV (7v/17v) Currents: 20A continuous peak 25A (5 seconds) Support BLHeliSuite programmable Factory firmware: Bluejay 0.19.2 Firmware target: F_H_40_48_v0.19.2 Default protocol: DSHOT150/DSHOT300/DSHOT600 |
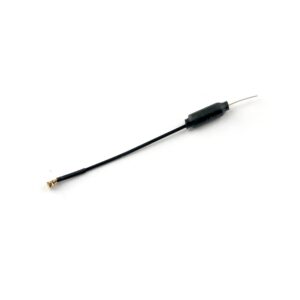
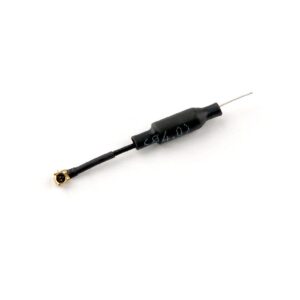
| Onboard UART ExpressLRS 2.4GHz Receiver | Packet Rate option: 25Hz/50Hz/150Hz/250Hz/500Hz RF Frequency: 2.4GHzAntenna plug: IPEX Telemetry output Power: <12dBm Receiver protocol: CRSF Default firmware version: ExpressLRS V3.0.1 |
| Onboard voltage and Amperage meters settings | Voltage meter scale setting 110 Amperage meter scale setting 470 |

Binding procedure:
- Supply power to the flight controller by plug USB, wait until the red LED on the FC is off, immediately turn off the power, and then repeat again the above steps. When the FC is powered on for the third time, the red LED light will start to double-flash, which means that the Receiver enters the binding mode
- Please make sure your ExpressLRS tx module firmware is v3.x.x. And go to ExpressLRS.lua from “TOOLS” menu of your radio transmitter. Then hit [Bind] to binding with the onboard ExpressLRS receiver. The red LED should blinking slowly first then turn to solid, that means binding was successfully. If the red led keep tri-flash after binding ,please change Model Match tab value from “off” to “on” or from “on” to “off”
Receiver LED status meanings:
Red LED solid means bind successful or RC link established; Red LED double-flash means get into bind mode; Red LED flash slowly means no RC signal input from TX module; Red LED continuous flash fast means ExpressLRS wifi enabled; Red LED tri-flash means model mismatch need to change model match from “off” to “on”.
UART description:
ELRS receiver was connected to UART2 default out of factory.
Usually UART1 was used for MSP OSD with HD VTX.
UART6 could be used for GPS or other serial equipment.
IRX6 is an inverted serial RX6 for SBUS input.
IRX6 and TX6/RX6 couldn’t be used at the same time.
NOTES:
If upgrade firmware to betaflight 4.4.x , need to add custom Defines “GYRO_SPI_ICM42688P ACC_SPI_ICM42688P” from build configuration of betaflight configurator otherwise gyro will not working .

If you want to enable Barometer , please connect to betaflight configurator and go to CLI command ,then type the following command:
resource I2C_SCL 2 B10
resource I2C_SDA 2 B11
set baro_bustype = I2C
set baro_i2c_device = 2
save
Additional information
| Brand |
|---|
Only logged in customers who have purchased this product may leave a review.
Related products
-

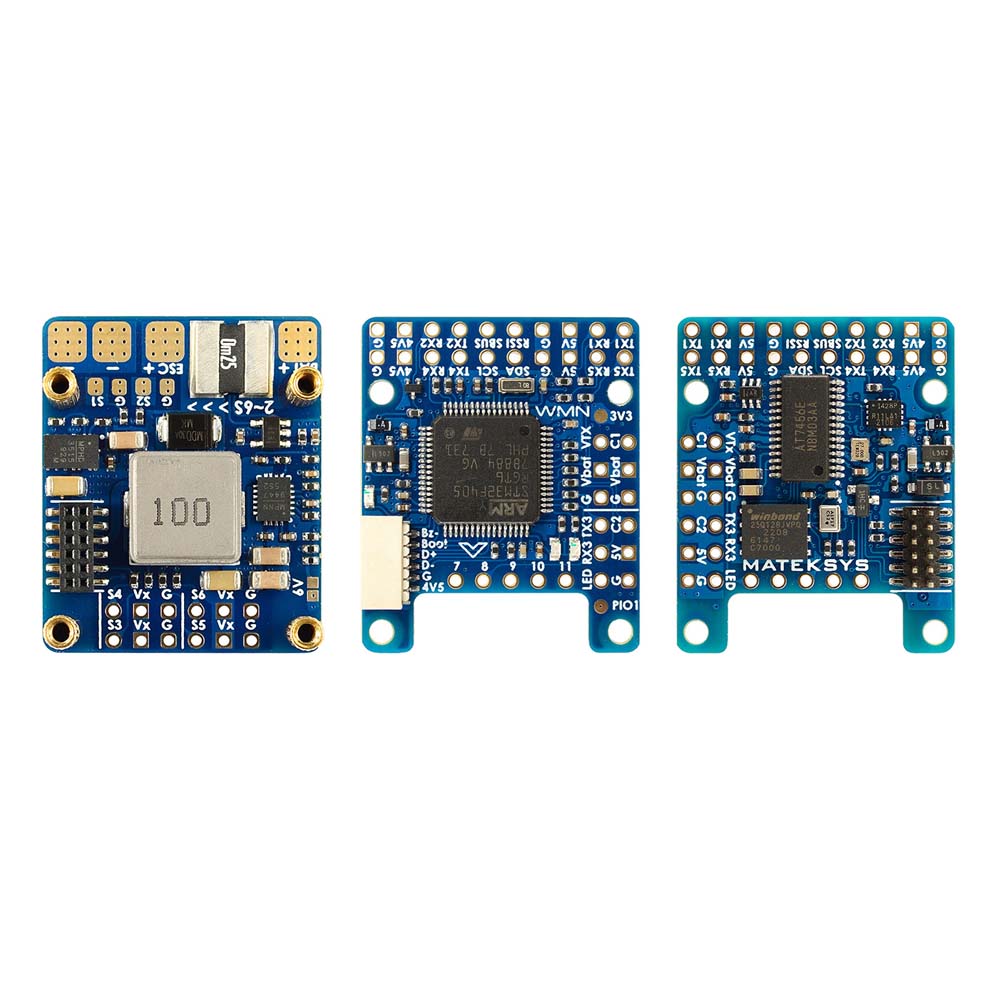
Mateksys F405-WMN Flight Controller
(3) $114.99In stockAdd to cart -
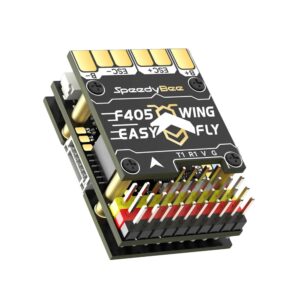
SpeedyBee F405 40A Blue jay 25.5×25.5 AIO Flight Controller
(1) $119.99In stockAdd to cart -
Sale!
Foxeer H7 MPU6000 FC 8S Dual BEC Barometer X8
Original price was: $199.99.$129.99Current price is: $129.99.Out of stockRead more -
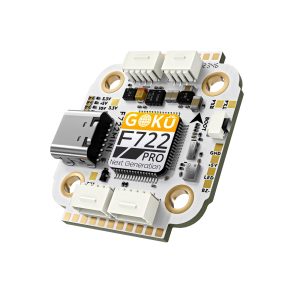
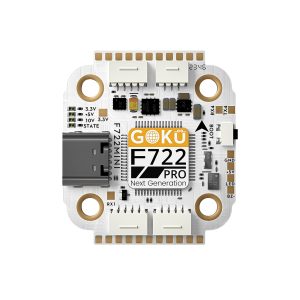
Flywoo GOKU F722 PRO MINI V2 20X20 Flight Controller (ICM42688)
$89.99Out of stockRead more -
BetaFPV Air Brushless Flight Controller
(1) $84.99In stockAdd to cart -
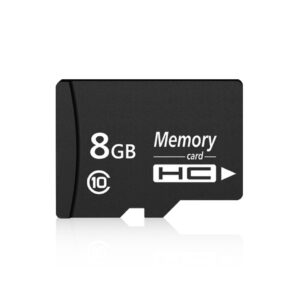
SpeedyBee 8GB Class10 High-Speed MicroSD card for Blackbox Radios
(7) $9.99Out of stockRead more

Explore more from HappyModel
-
HappyModel X12 ELRS Pro v1.1 AIO 5-IN-1 Flight Controller
$139.99Out of stockRead more -
HappyModel Mobula7 Freestyle HD BNF Built-in HDZERO AIO5
$409.99Out of stockRead more -
HappyModel RS1102 KV10000 Brushless Motor for Mobula7 O4
$19.99Out of stockRead more -
HappyModel Dipole Antenna for Mobula7 O4 Version 2pcs
$4.99Out of stockRead more -
HappyModel M80 Frame for Mobula7 O4
(1) $8.99Out of stockRead more -
HappyModel CrazyF405 ELRS HD 1-2S AIO Flight Controller
(1) $139.99Out of stockRead more

Other AIO (All in One) FCs you might like
-
HappyModel X12 ELRS Pro v1.1 AIO 5-IN-1 Flight Controller
$139.99Out of stockRead more -
HappyModel Super F405HD AIO Flight Controller 20A ESC with ExpressLRS
$119.99Out of stockRead more -
EMAX Tinyhawk III Plus Spare Part C – AIO Flight Controller ESC ELRS
(2) $119.99In stockSelect options This product has multiple variants. The options may be chosen on the product page -
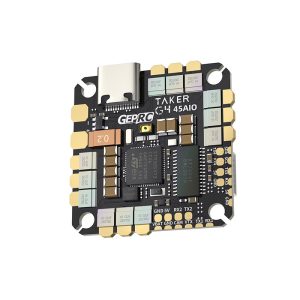
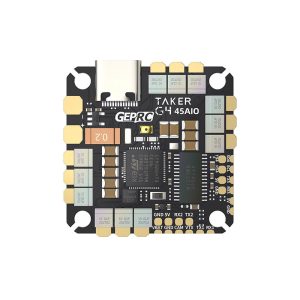
GepRC TAKER G4 45A 8Bit AIO
$139.99Out of stockRead more -
HDZero AIO5 F4 5A ELRS2.4
$199.99In stockAdd to cart -
HappyModel CruxF405HD AIO Flight Controller 20A ESC with ExpressLRS
$119.99In stockAdd to cart
Other Flight Controllers you might like
-
HDZero AIO5 F4 5A ELRS2.4
$199.99In stockAdd to cart -
EMAX Tinyhawk III Plus Spare Part C – AIO Flight Controller ESC ELRS
(2) $119.99In stockSelect options This product has multiple variants. The options may be chosen on the product page -
SpeedyBee F405 40A Blue jay 25.5×25.5 AIO Flight Controller
(1) $119.99In stockAdd to cart -
SpeedyBee F405 WING MINI Fixed Wing Flight Controller
(6) $79.99Out of stockRead more -
HDZero Halo Mini Flight Controller
$149.99In stockAdd to cart -
Foxeer Mini F722 V4 FPV Flight Controller
$99.99Out of stockRead more

Reviews
There are no reviews yet.